

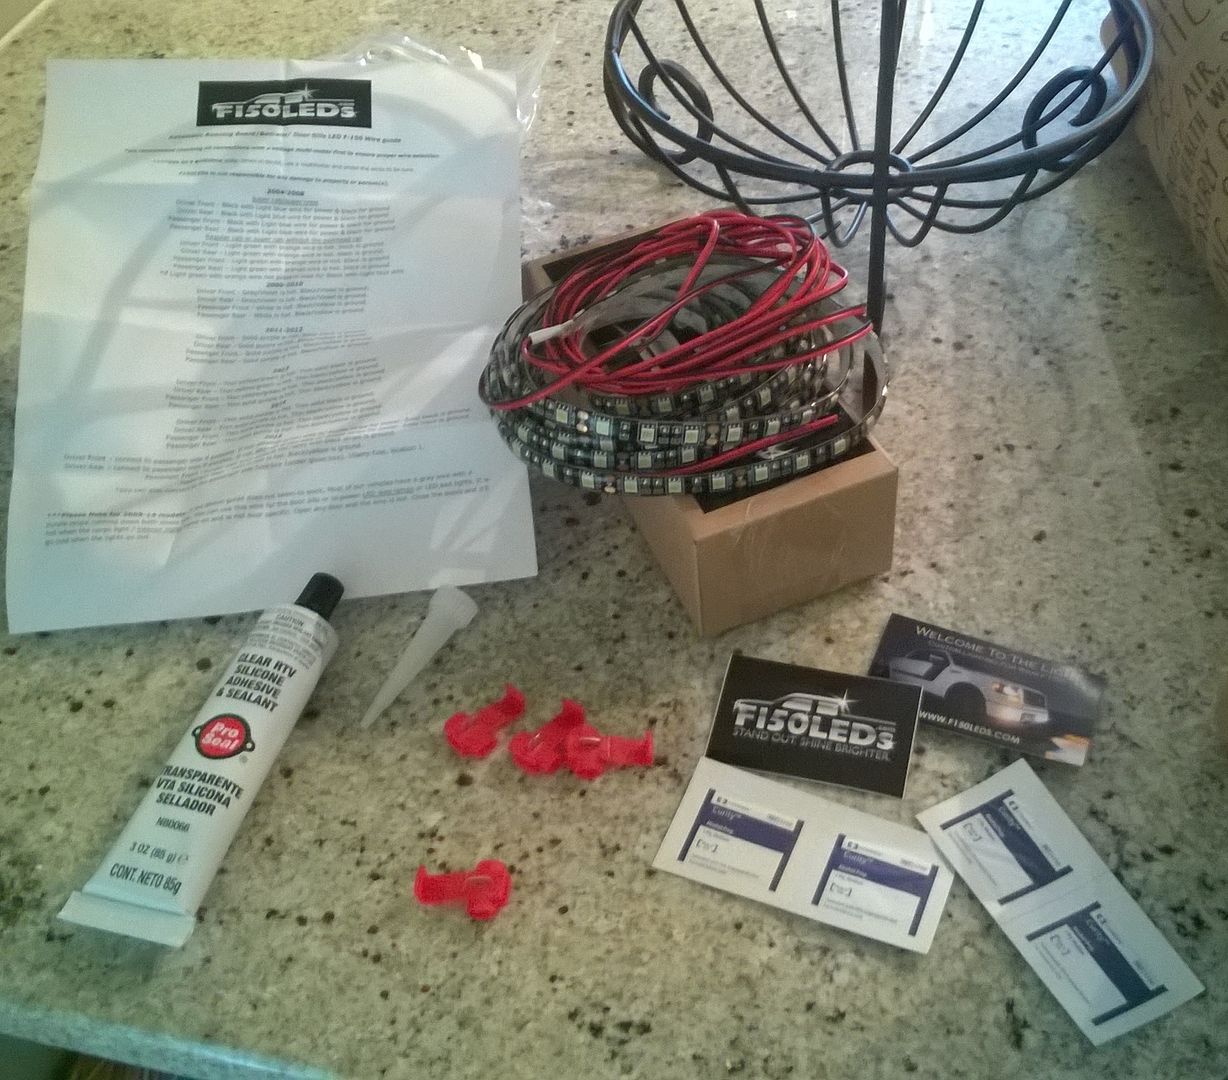
So I got my shipment of the LED running board lights from F150 LED's today and I was excited to get them installed. So I did it in about 35 min to an hour. Not too bad I had just ran into some issues. So lets start with what is shipped. It was a small box containing the LED strips, Silicon Adhesive, Alcohol wipes, and Quick Splice connectors.
![Image]()
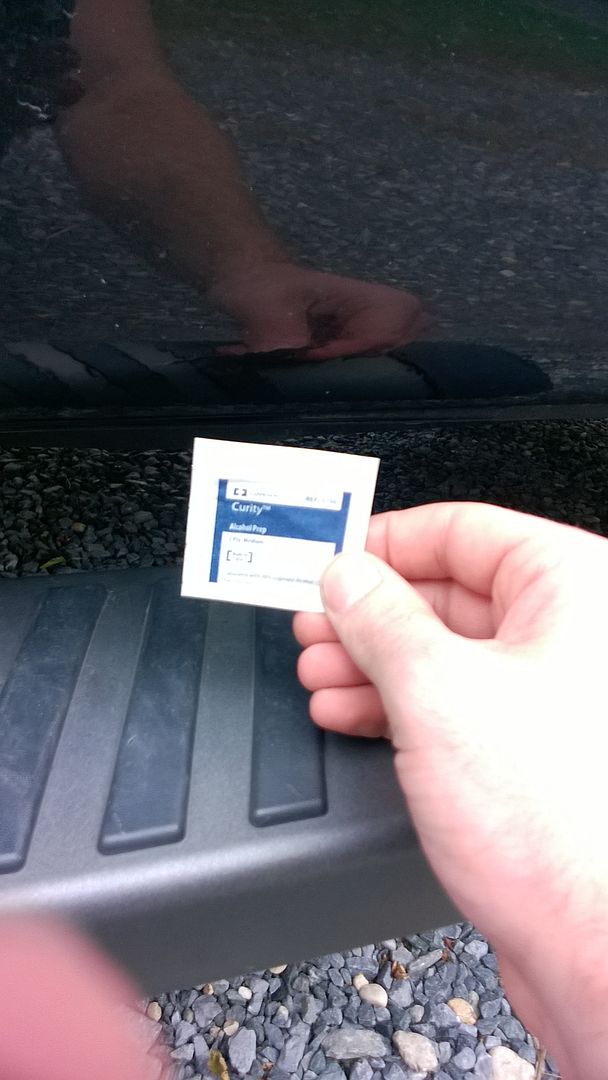
The only tools you need are needle nose plyers with snips. <br>I wiped down the area with a wet paper towel before wiping it down with a alcohol wipe.
![Image]()
![Image]()
I then pulled the adhesive paper off the back of the light strip and lined it up with where i needed it to be.
![Image]()
![Image]()
I then adhered it to the truck using the silicon adhesive provided. It worked rather well.
![Image]()
![Image]()
The Lights were easily mounted to the bottom of the truck, and I ran the wire back through a hole in the frame and then to the rear driver side wiring harness.
![Image]()
![Image]()
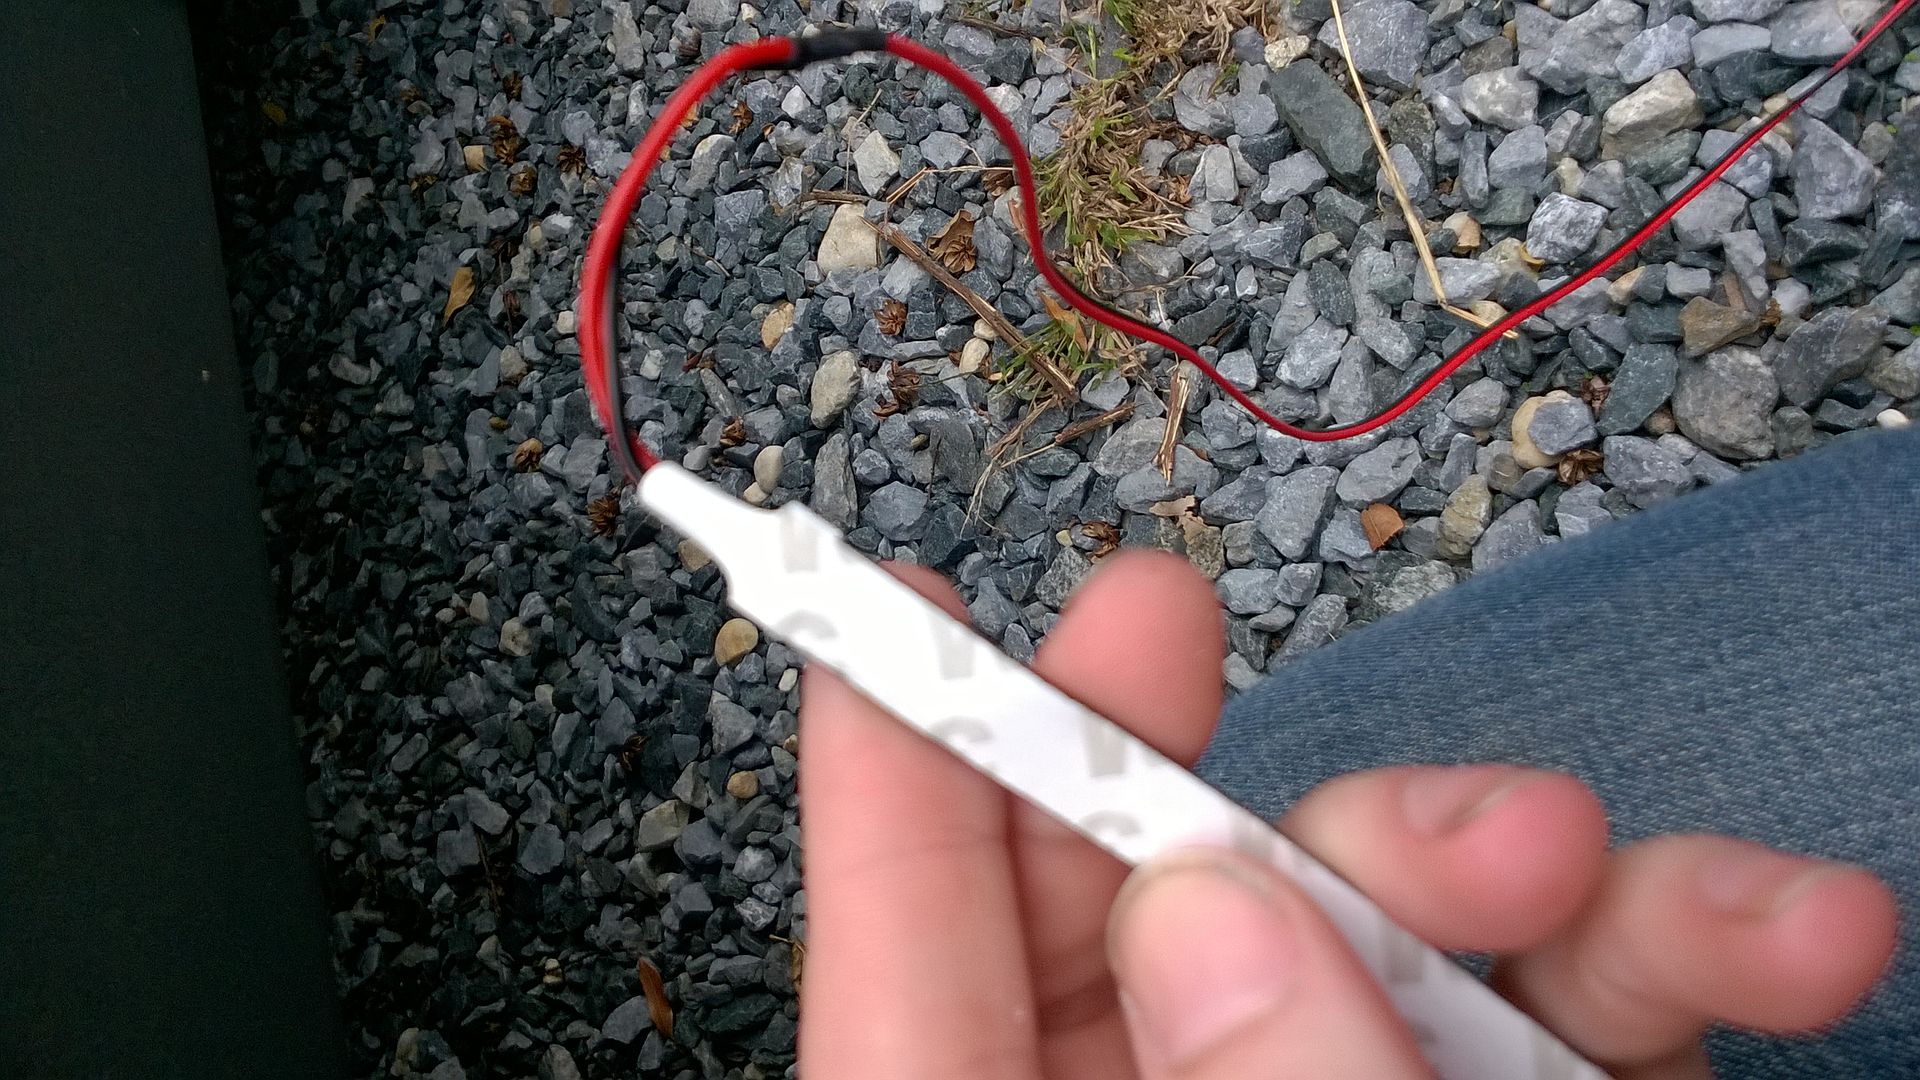
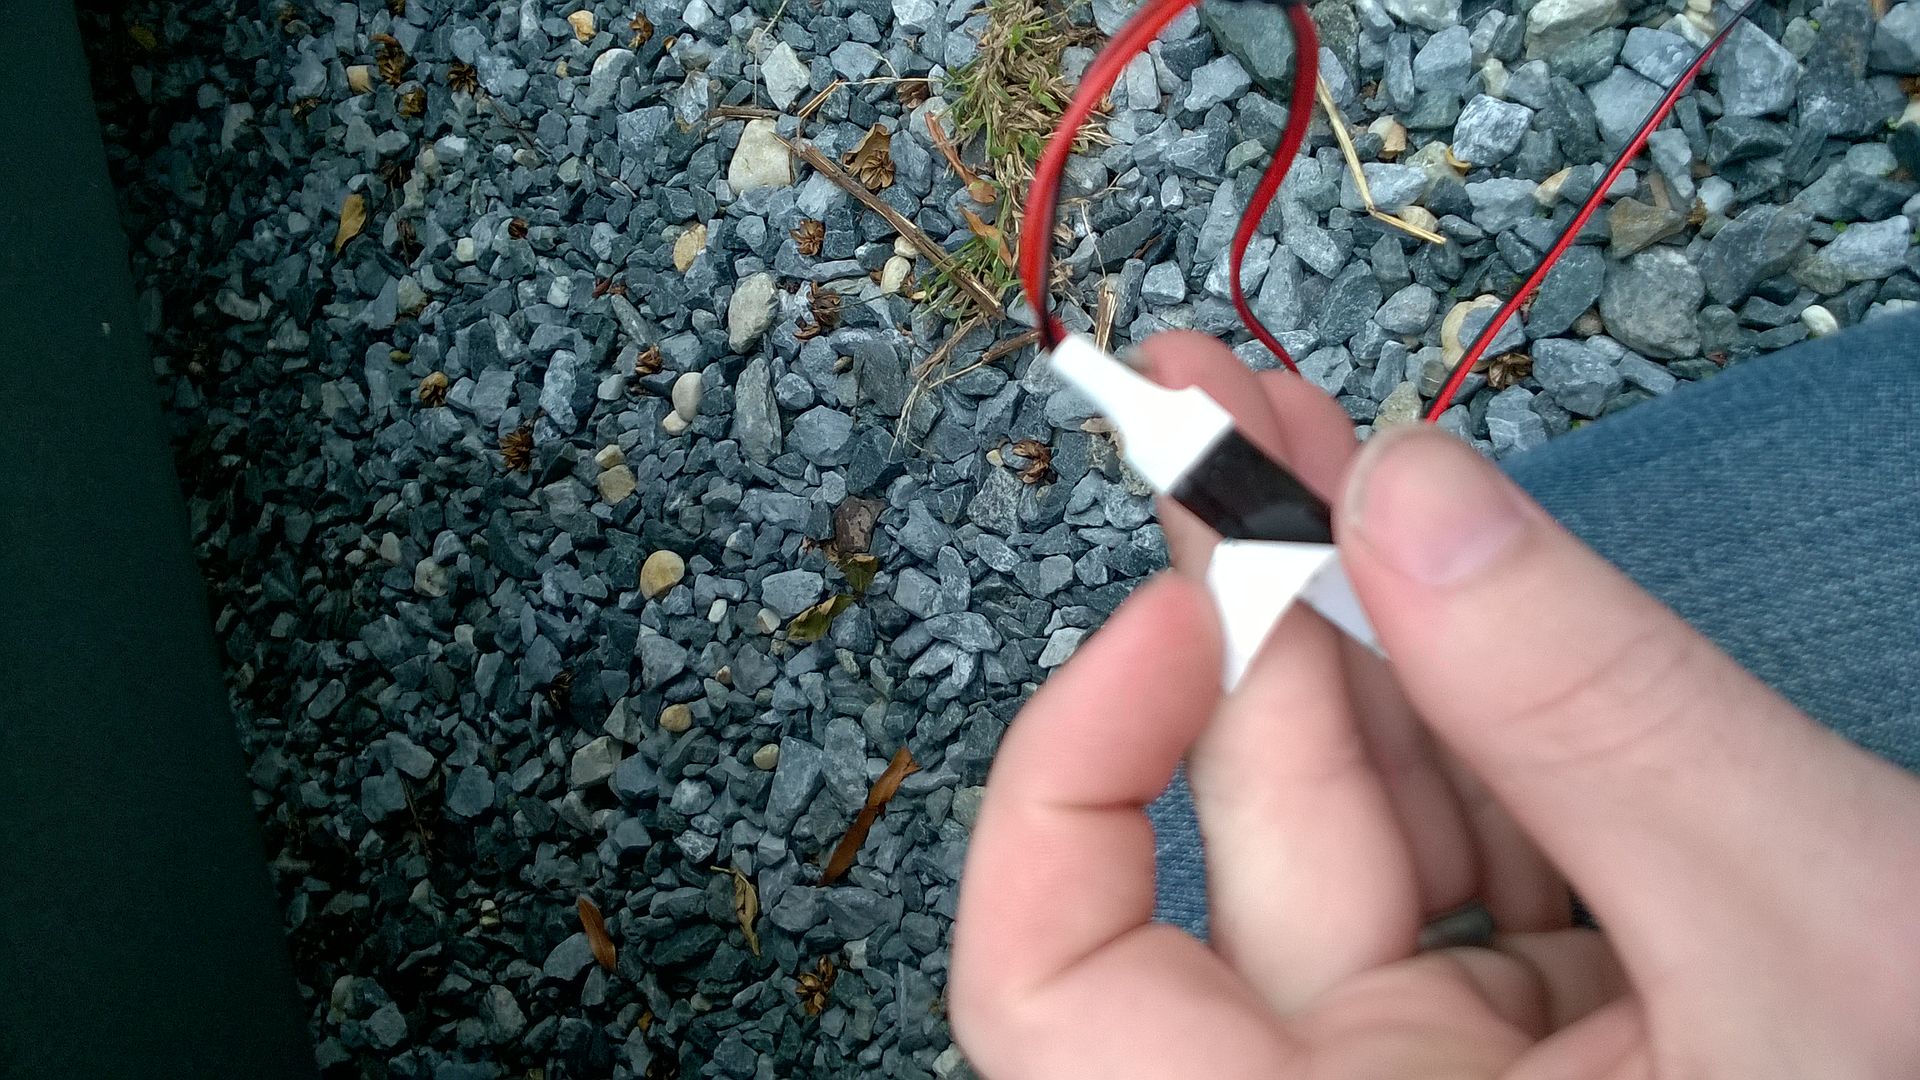
Here is where I ran into issues.... I trimmed the wires and separated them to hot and ground. I then used the supplied quick splice connectors and followed the instructions to light them up. Wasn't too hard but the splicing didn't work on the wires designated in the instructions. I got tired of messing with it and did the other side. It worked like a champ. I came back to the driver side again and tried several different splices. I had some laying around. I then decided on my last splice to try the gray and purple wire. It lit up. Each side lights up with the cargo light is on not when the side door is open, though I followed the instructions for the passenger side.
![Image]()
But all in all it wasn't too difficult and they look pretty sick.I definitely find these to be useful on dark nights getting in the truck and having just the extra custom lighting makes it look like it was some expensive add on.
![Image]()
![Image]()
I would recommend these to anyone who likes extra lights and an awesome look to trick out the truck.
But watch those quick splices, they didn't trim all of the coating on the wires when I tried at first. If you have an 09-14 model year you may want to stick with the gray and purple wires as the hot
The only tools you need are needle nose plyers with snips. <br>I wiped down the area with a wet paper towel before wiping it down with a alcohol wipe.

I then pulled the adhesive paper off the back of the light strip and lined it up with where i needed it to be.
I then adhered it to the truck using the silicon adhesive provided. It worked rather well.

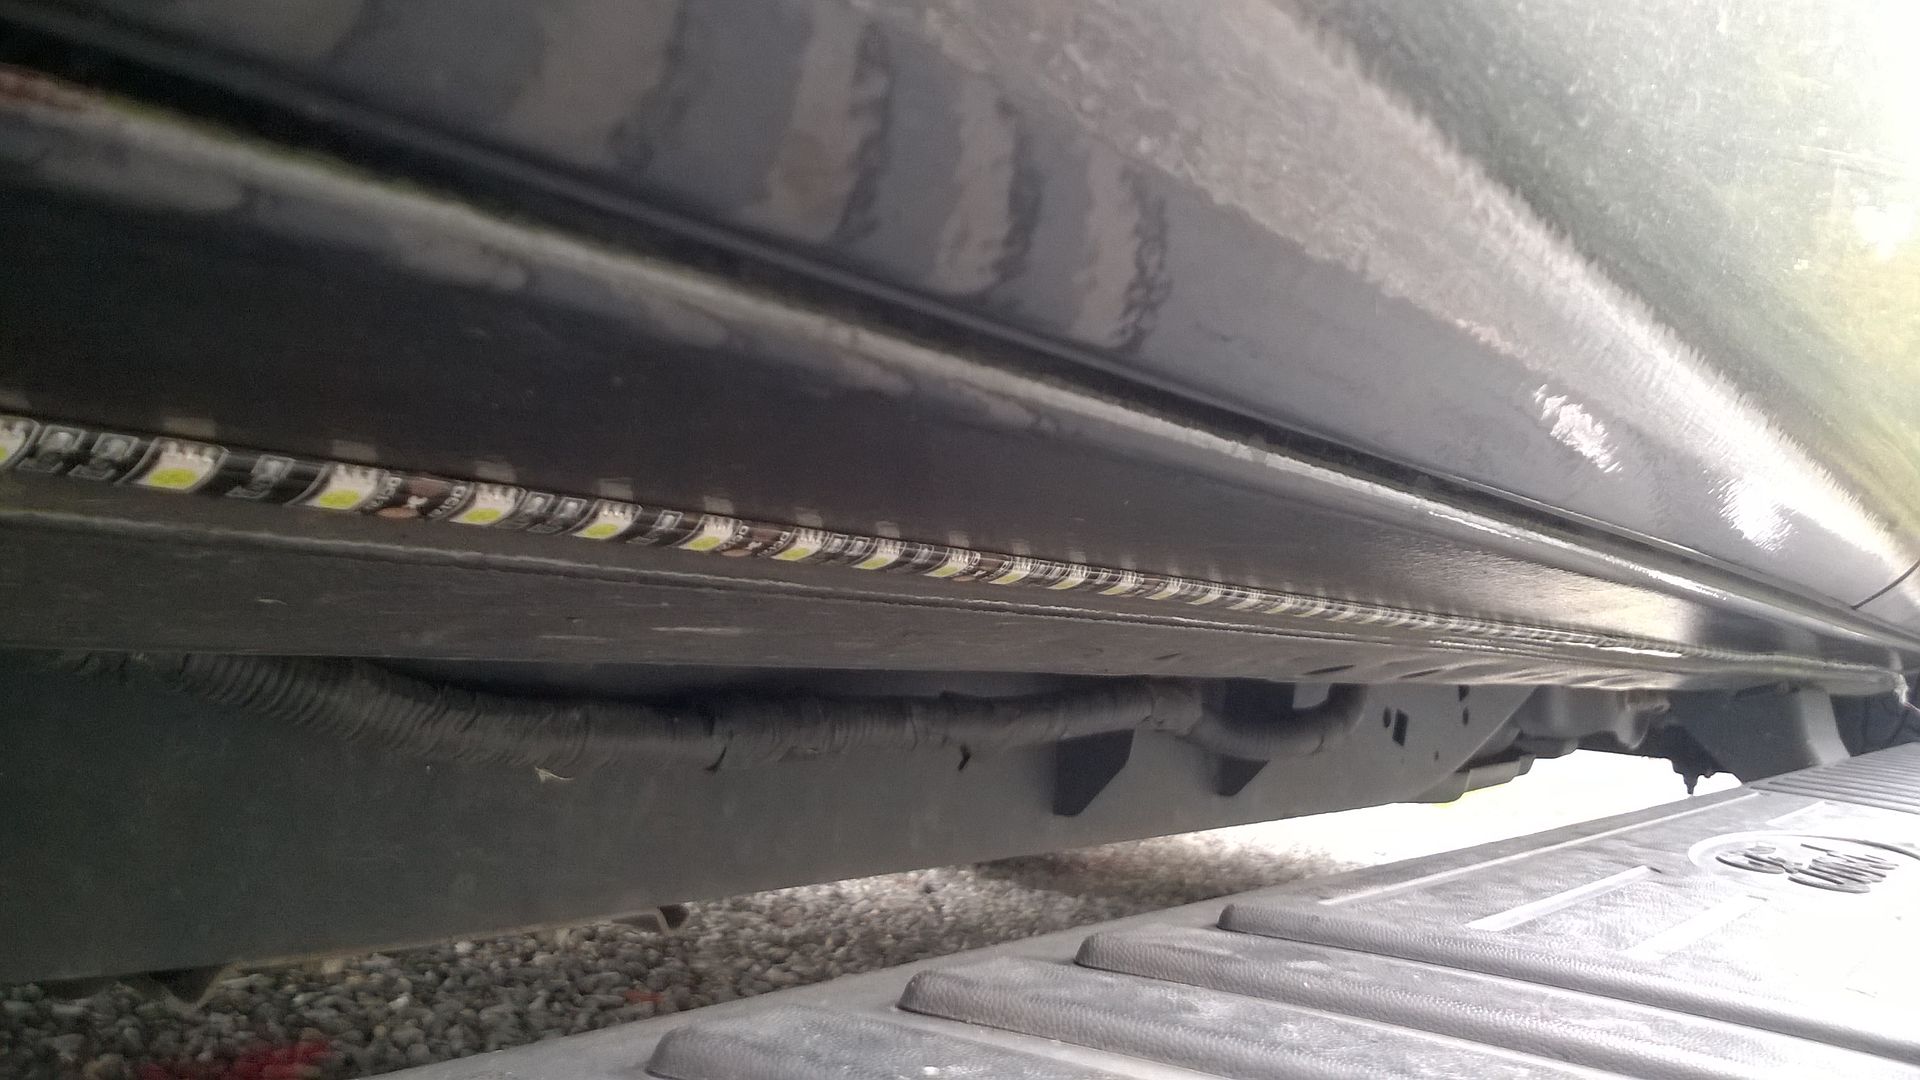
The Lights were easily mounted to the bottom of the truck, and I ran the wire back through a hole in the frame and then to the rear driver side wiring harness.
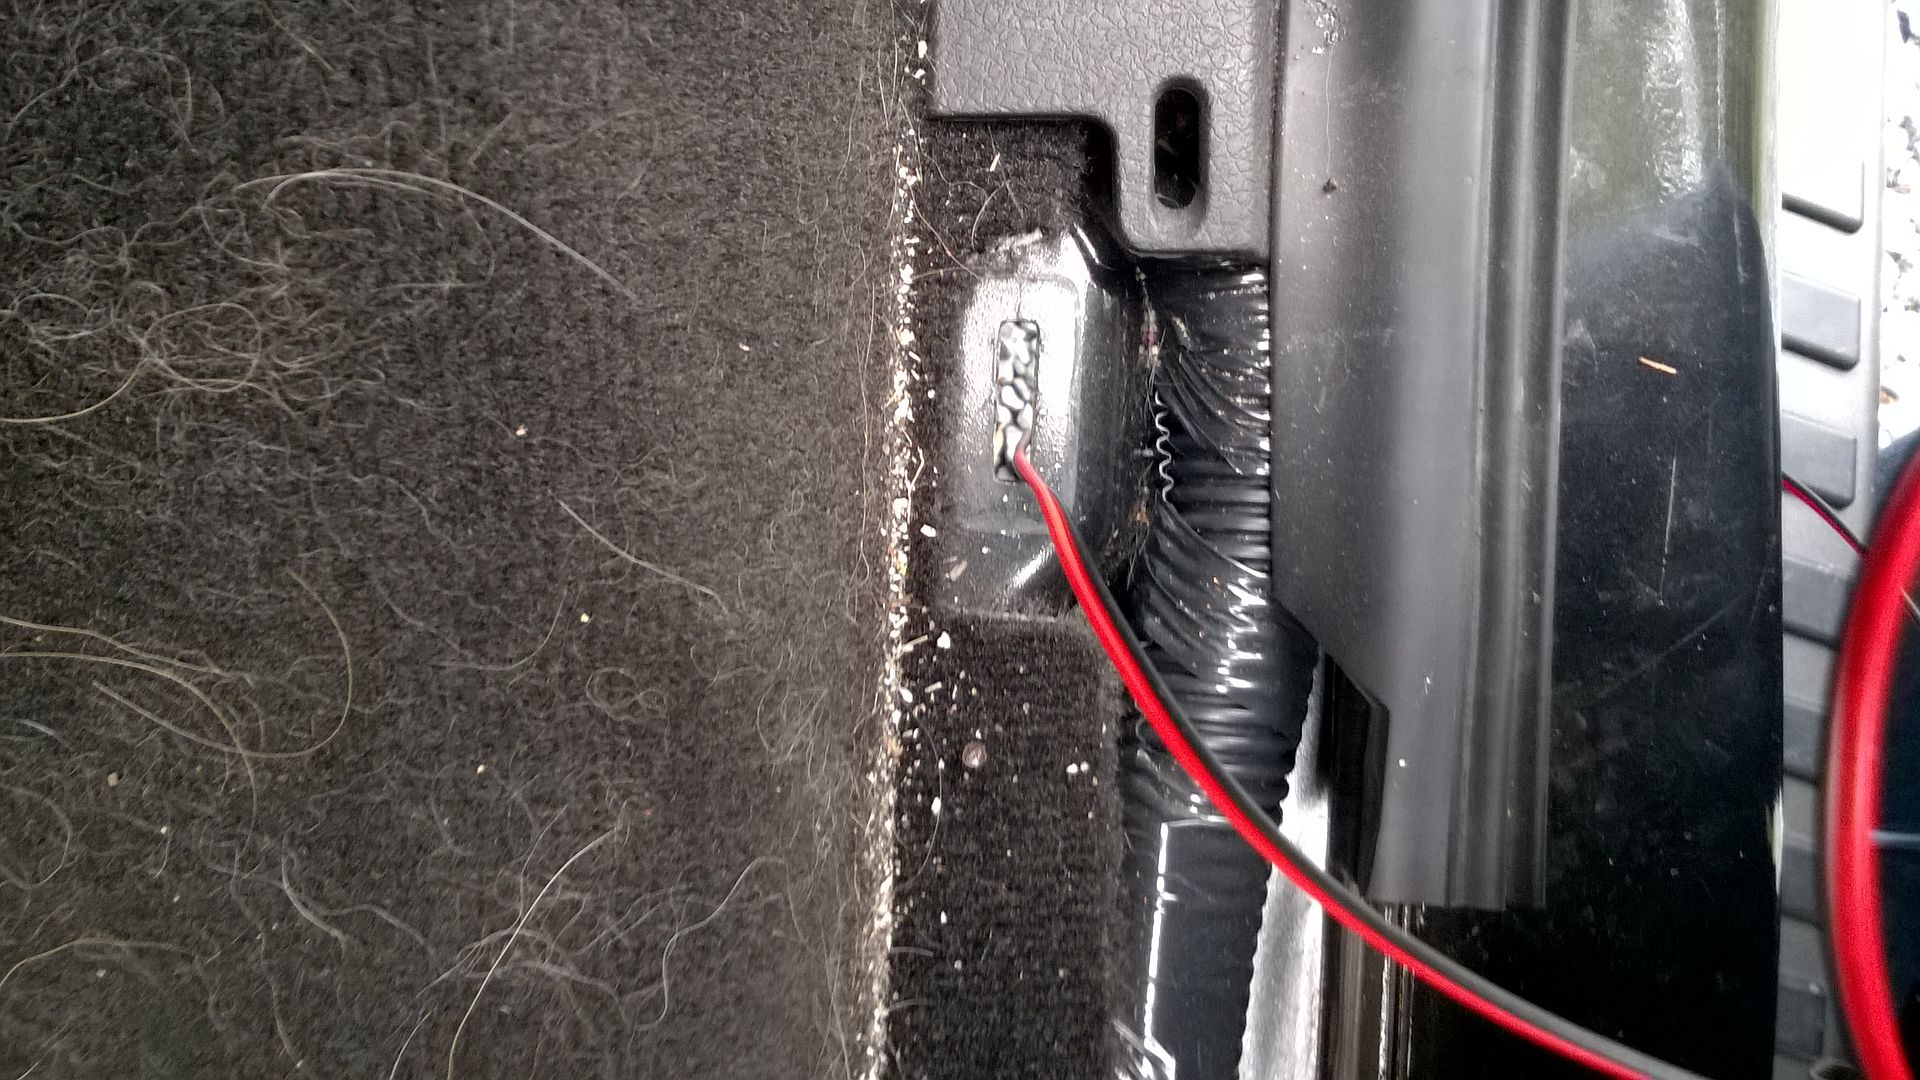
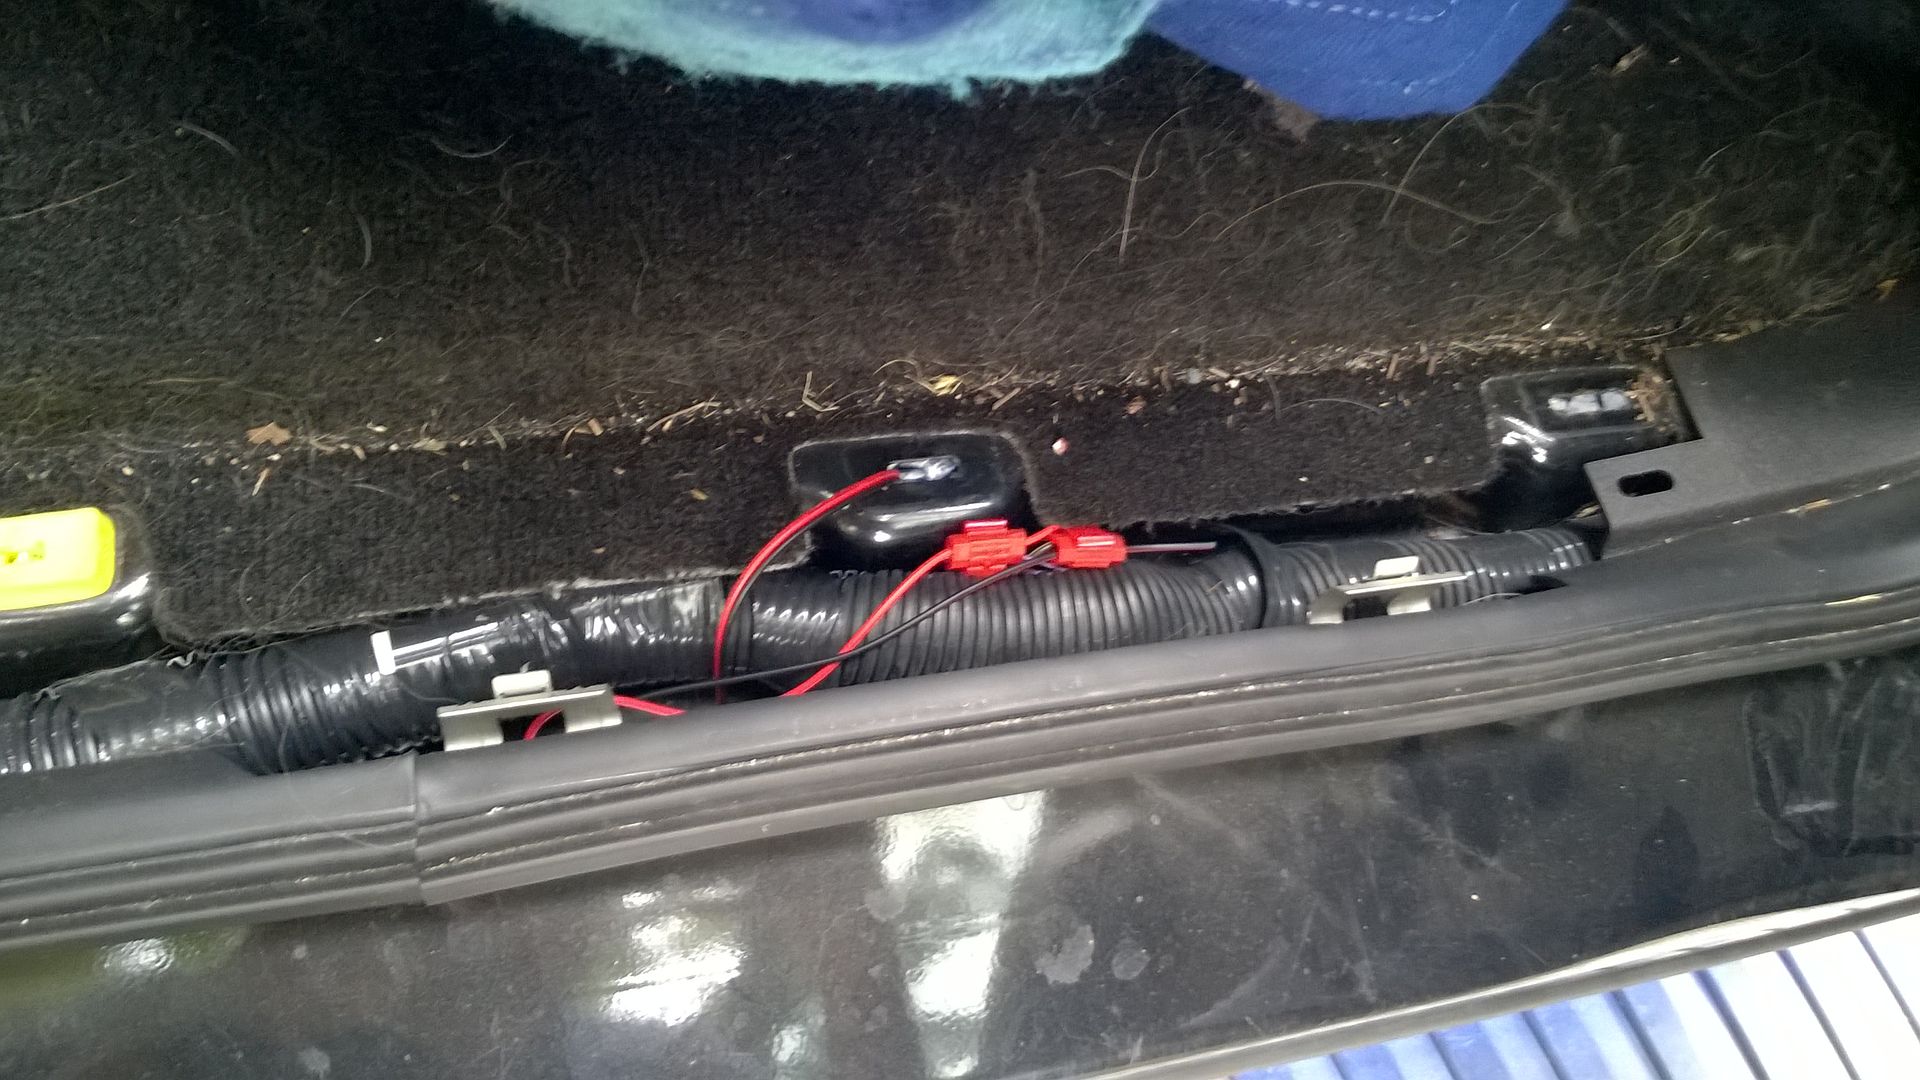
Here is where I ran into issues.... I trimmed the wires and separated them to hot and ground. I then used the supplied quick splice connectors and followed the instructions to light them up. Wasn't too hard but the splicing didn't work on the wires designated in the instructions. I got tired of messing with it and did the other side. It worked like a champ. I came back to the driver side again and tried several different splices. I had some laying around. I then decided on my last splice to try the gray and purple wire. It lit up. Each side lights up with the cargo light is on not when the side door is open, though I followed the instructions for the passenger side.

But all in all it wasn't too difficult and they look pretty sick.I definitely find these to be useful on dark nights getting in the truck and having just the extra custom lighting makes it look like it was some expensive add on.


I would recommend these to anyone who likes extra lights and an awesome look to trick out the truck.
But watch those quick splices, they didn't trim all of the coating on the wires when I tried at first. If you have an 09-14 model year you may want to stick with the gray and purple wires as the hot


